Thursday, December 9, 2010

New Dining Table & Chairs!

Well, the table was new in July - then the chairs were new/old in August, then I finally re-did the chairs in September.. Yes, I am just getting around to posting about them.
Our old dining set was a craigslist purchase that I re-padded and re-covered, and I liked it. But it just wasn't the right piece for our tiny dining room. It had to be pushed up against the wall or else you couldn't walk around it to get to the slider - but that also meant that anyone taller than 5' 9" would hit their head on the chandelier (Adam is 6' 3"). So it just wasn't right for the space, so back on craigslist it went getting more than I had paid for it! So we were dining table-less for a month or so. I had been eying a new table from IKEA so so once we made the trip to IKEA it was mine! I had been looking at it online and the price was $159- yikes! But I justified it because we had sold our old set. :) When we got to the store the price tag said $179! WHAT! So I had my friend Josh pulled up the IKEA site on his iPhone {I was sure that online it was cheaper!} and sure enough the price was $20 cheaper online, so we showed the cashier and he honored the price - Thank you iPhone! Then on the hunt for chairs.. 
One day while Adam and I were at St. Vinnys I spotted a set of 4 chairs - perfect! They were 25% off from $20 per chair. More than I wanted to spend. So I decided to test my luck and wait for them to go to 50% {it was Sunday and Tuesday was mark down day}. On Tuesday Adam went to St. Vinnys with his mom and.. the chairs were still there! 50% off! They weren't pretty, but I saw the potential. 
{before}
 beat up, scratched, dingy... but so cute! and super sturdy!
I was having a really hard time deciding what color to paint them.
I was debating between white and espresso so I did some quick photoshopping
and in the end I decided on...
 WHITE!
I first had to sand and sand to get some of the gashes in the wood out. 
Then is was onto priming. I decided to go with spraying the chairs since there are so many curves and details - I wanted them crisp and smooth.
After several cans of high-gloss white spray paint,
then another coat of white lacquer they were ready to be brought inside.
I of course ordered some Amy Butler fabric from Fabric.com that has pink, green, and gray in it - perfect for the kitchen! I didn't bother removing the old seat fabric (pea-green pleather), I just purchased some batting and did 1 new layer of batting between the old seat and the new fabric. I cut the fabric to size then staple-gunned the heck out of it!
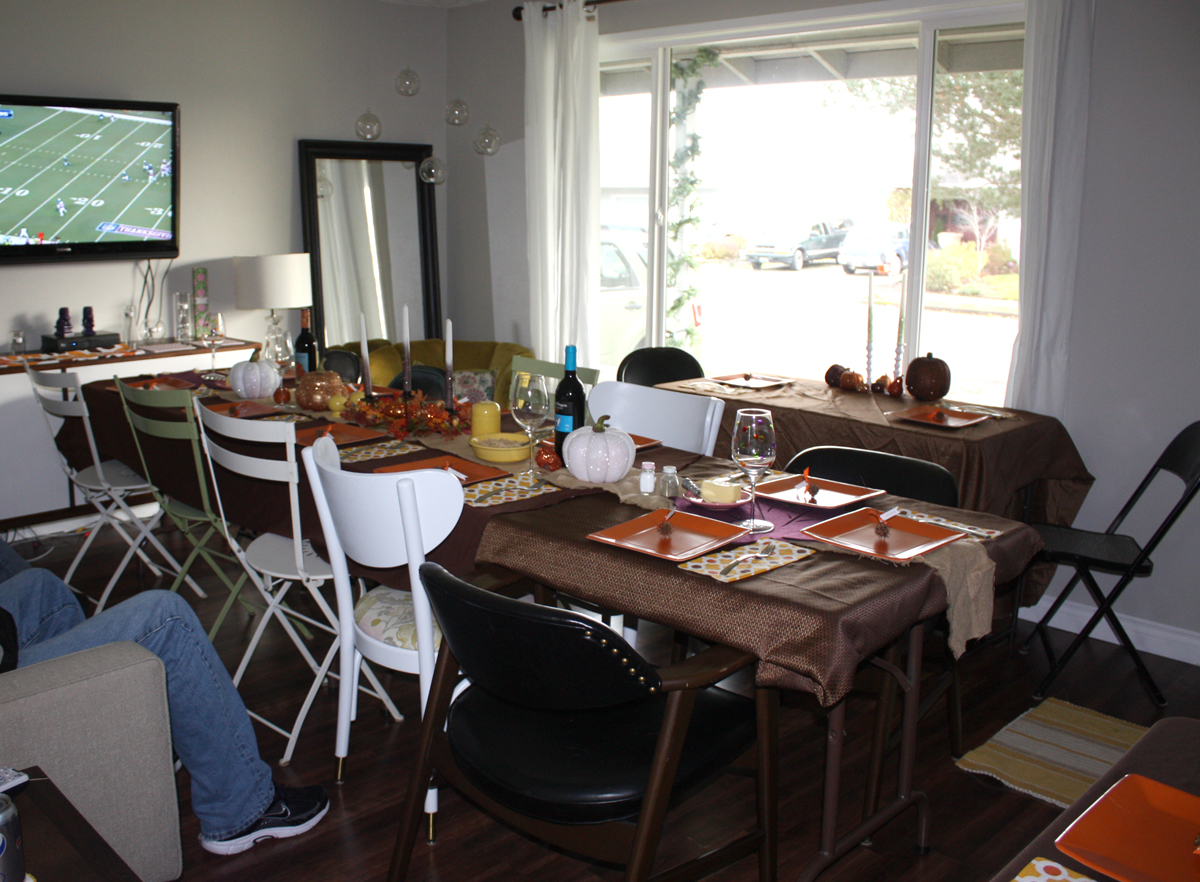
We then screwed the seats back on and stood back and admired how pretty and perfect they were!
We can walk around the table now! and Adam no longer hits his head on the light!
 The whole set we pieced together is perfect!
Thank you St.Vinnys, IKEA, Fabric.com, and Home Depot for selling me 8 cans of spray paint!
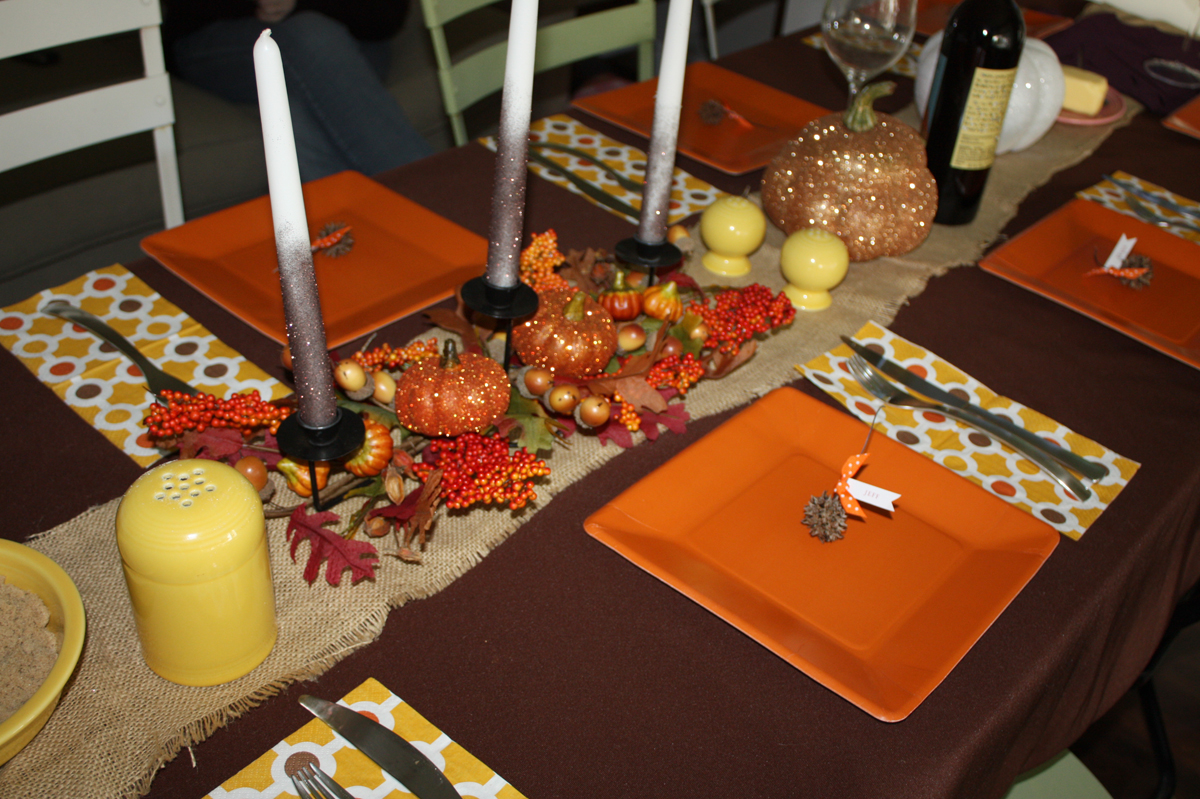
And since I am a few months late on posting, the after shots are complete with Christmas decor! 
in case you don't remember what our old dining set looked like, it can be viewed here.
But trust me, this one is way better! Even Trudie thinks so!

Tuesday, December 7, 2010

Happy Thanksgiving {last month}

Adam and I hosted our first holiday this year - Thanksgiving! Our house is pretty small and somehow we fit 15 people + 3 babies for a sit down dinner. We moved our coffee table and 2 side chairs out of the living room and put a large banquet table down the middle. We also had 2 card tables with family sitting at. It was tight but we made it work. We had a lot of help from Adam's mom & aunt & uncle - thank you guys!
I made a ton of glitter pumpkins for decoration and even glittered candle sticks.
 I made place cards for everyone - Idea from Martha Stewart of course. They are made from those spiky balls that fall from a Liquidambar Tree.
  The kids anxiously waiting for their dinner!
a little bit of everything
 after dinner we all sat around and played "dirty bingo"
Happy Thanksgiving {last month} everyone!

Saturday, November 27, 2010

Framed Family

I've always liked photo frame collages and since we didn't have very many photos of family around the house I decided, like most people, to put frames down the hall. I love unique ornate frames so for this project I of course was on the hunt for those! Goodwill, Garage Sales, TJMaxx,.. and finally I had collected enough. To keep them looking cohesive even though they were all so different, and to keep the hall looking as open as possible, I painted the frames the same color as the wall, HomeDepot Behr paint color Mineral.
Once I had all the frames painted I filled them with photos, then I traced around each frame onto scratch paper and paper sacks so I could test where I wanted them on the wall before I committed with nailing a hole. I used blue sticky tack to hang the 'paper frames' on the wall until I was happy, then 1 by 1 nailed a hole and hung my frames.
I also added in the mix of frames these 3 birds that I picked up for $1 at a garage sale. I spray painted them white and once the frames were hung I added these into places that needed a little something.
And here's the finished wall! I'm really happy with how it turned out!

Guest Room Projects

I have been quite busy lately planning parties, planning for the Holidays, working on house projects, making invitations, hosting Thanksgiving! ... that I haven't had any time to actually blog about what's been going on, so on this Holiday weekend I am hoping to get caught up!
Starting with where I left off, the guest room. I did a lot of DIY in there so here are some of the projects I did.
Lamp:
I read on the blog Three Men and a Lady "Every room is worthy of a bold pop of red." I think what she meant was a bold pop of PINK, at least that's how I took it anyway. So when I was trying to decide on a color to paint my St. Vinnys lamp hot pink immediately came to mind! I am so happy I did, it is the perfect, much needed, pop of color!
{before} 
{yes, I usually am painting/fixing.. late at night in the back yard by patio light}
{after}
Breakfast Tray:
A little blue spray paint did the trick!
{before}
 {after}
Frames & hooks:
Again, a little blue spray paint for the frames. I painted the balls on the hooks white, but didn't take any pics. They were a forest green before.
{before}
 {after}

Curtains & Pillows:
The most time consuming of the room. I started with a set of blue tab-top panels that I already had. I cut the tabs and top section off to make room for my printed fabric. To blend the seams and finish off the curtains I added a band of chartreuse ribbon!
{before}
{after}
For the pillows I used the small leftover pieces that I had from each panel, there wasn't much! It was actually quite difficult getting the 3 different fabrics sewn together, but in the end I think they turned out great!
Stuffing was the hardest part!
{after} 
And that's a wrap, on to the next project!
Related Posts Plugin for WordPress, Blogger...