Saturday, November 27, 2010

Framed Family

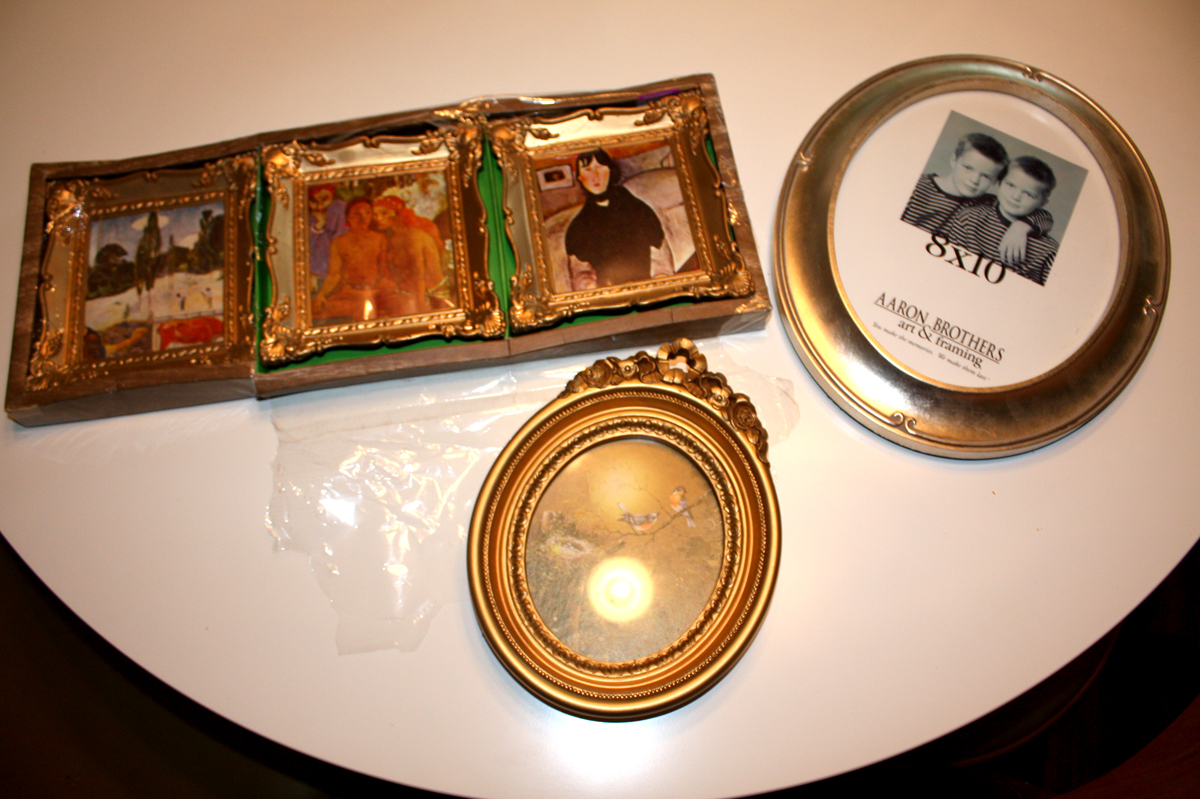
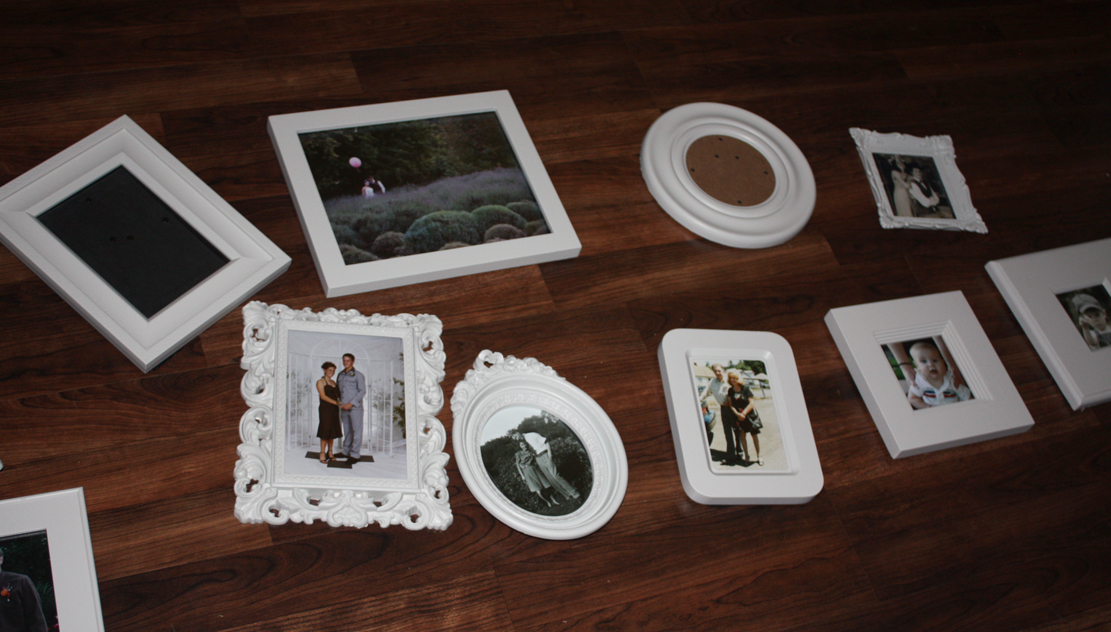
I've always liked photo frame collages and since we didn't have very many photos of family around the house I decided, like most people, to put frames down the hall. I love unique ornate frames so for this project I of course was on the hunt for those! Goodwill, Garage Sales, TJMaxx,.. and finally I had collected enough. To keep them looking cohesive even though they were all so different, and to keep the hall looking as open as possible, I painted the frames the same color as the wall, HomeDepot Behr paint color Mineral.
Once I had all the frames painted I filled them with photos, then I traced around each frame onto scratch paper and paper sacks so I could test where I wanted them on the wall before I committed with nailing a hole. I used blue sticky tack to hang the 'paper frames' on the wall until I was happy, then 1 by 1 nailed a hole and hung my frames.
I also added in the mix of frames these 3 birds that I picked up for $1 at a garage sale. I spray painted them white and once the frames were hung I added these into places that needed a little something.
And here's the finished wall! I'm really happy with how it turned out!

Guest Room Projects

I have been quite busy lately planning parties, planning for the Holidays, working on house projects, making invitations, hosting Thanksgiving! ... that I haven't had any time to actually blog about what's been going on, so on this Holiday weekend I am hoping to get caught up!
Starting with where I left off, the guest room. I did a lot of DIY in there so here are some of the projects I did.
Lamp:
I read on the blog Three Men and a Lady "Every room is worthy of a bold pop of red." I think what she meant was a bold pop of PINK, at least that's how I took it anyway. So when I was trying to decide on a color to paint my St. Vinnys lamp hot pink immediately came to mind! I am so happy I did, it is the perfect, much needed, pop of color!
{before} 
{yes, I usually am painting/fixing.. late at night in the back yard by patio light}
{after}
Breakfast Tray:
A little blue spray paint did the trick!
{before}
 {after}
Frames & hooks:
Again, a little blue spray paint for the frames. I painted the balls on the hooks white, but didn't take any pics. They were a forest green before.
{before}
 {after}

Curtains & Pillows:
The most time consuming of the room. I started with a set of blue tab-top panels that I already had. I cut the tabs and top section off to make room for my printed fabric. To blend the seams and finish off the curtains I added a band of chartreuse ribbon!
{before}
{after}
For the pillows I used the small leftover pieces that I had from each panel, there wasn't much! It was actually quite difficult getting the 3 different fabrics sewn together, but in the end I think they turned out great!
Stuffing was the hardest part!
{after} 
And that's a wrap, on to the next project!

Monday, September 6, 2010

Vacancy!

The Elvebak B&B is now open! I've been working on fixing up our guest room pretty much since April. Slowly. This room used to be the office but when our room mate moved out we switched rooms since his room was bigger and we spend most of our days in the office. The first thing that happened to the room was it got a new paint job. {I guess 2 rooms painted pink was too many} I bought the paint at the Habitat for Humanity ReStore, 1 can of barely used Behr for $3!
{before: when it was the office} 
 {before: after we switched rooms}
{after the paint + new night stands}
The room sat looking like this since pretty much since June. It served it's purpose, but was pretty darn boring. I knew that I wanted my color scheme to be chartreuse, turquoise, and yellow but was uninspired on what to do. Being on a budget also made it harder. I didn't want to spend too much money so I was trying to use things that we already had. It took a while, but everything finally came together and I couldn't be happier! Take a look:
{I sewed the curtains and toss pillows, and painted the breakfast tray, lamp, and frames} 
 
Price break down:
Bedding, Mirrors, Curtains, Wall Hooks, Toss Pillows, Fabric, Pink Spray Paint, Lamp Shade, - $0 already had
Wall Paint - $3
Night stands - $15 Thrift Store
Lamp - $5 St. Vinny's
Breakfast Tray - $1.49 St. Vinny's
Frames around hooks - $1.50 garage sale
Ribbon for Curtains - $2.49 Micheal's
Alarm Clock - $1.49 St. Vinny's
Hanging Pottery Barn Lanterns - $10.96 Goodwill
Light Fixture - $2 garage sale
Blue Spray Paint - $3.00
Flowers on pink pillow - FREE {made by my friend Kara}
Now that's staying on a budget!

{more to come about the DIY projects}

1 dilemma I'm still facing is whether or not to paint the night stands. I think they would look good painted, but the wood is also nice - thoughts?

1 room is available.
Reservations are required! :-)

Thursday, September 2, 2010

Venting

It's the little things that make a huge impact so I couldn't ignore our vent covers. Yes, vent covers. All of our heater covers were white when we moved in. Which was fine, but when we put in our new flooring suddenly the white covers on the dark wood was not a good combination. We didn't need to highlight the heater vents. So, solution, espresso spray paint! It's a cure all! Take a look:
{Before} 
{During}
 {After}
 
Each floor vent in the house, with the exception of the bathroom, got an espresso makeover. *sigh* much better!
Another vent cover in the house got a makeover too. The large one in our hallway. It was dirty, brassy, and a major eye sore! 
 
{while we're on the topic of our hallway - we got a new light fixture at a garage sale for $2! We love it, even though my mom said it looked like it was from outer space. hardly. The living room and hallway also got a new paint job - more about that later.}
{unscrewed the vent from the ceiling}
 
{spray painted a flat white to blend with the ceiling}
ta-da! 
 
I think I keep spray paint companies in business, I don't know what I'd do without it.
Thanks for reading my boring post about vent covers.
Related Posts Plugin for WordPress, Blogger...