skip to main |
skip to sidebar
This past weekend my sister, brother-in-law, and nephew were all out of town on a fun vacation to Sea World, The San Diego Zoo, and the Beach down in California! While they were out, my mom and I went in {to their house}. Travis, Jesi, & MaylonJesi has been wanting to do something new to their kitchen, dining, and living room for a while. All of the rooms are pretty open to each other. I told her that I would help her, so we brainstormed some ideas of what she wanted to do. {Little did she know I planned on doing it while they were out of town as a surprise!} Jesi loves red! and likes country/rustic decor. For the past month or so My mom, other sister Cali, and I have all been planning {behind her back} and looking for items for her rooms. I even had to involve Travis on our little secret, I needed him to count how many kitchen cabinet knobs to buy! Check it out:
Before: After
After:
 These curtains are actually dish towels that we hung by curtain clips. My mom built this functioning shelf that the curtain rod is hung from.
 If we had more time I would have LOVED to paint her cabinets!
 Before:
 After:
 Before:
 After:
 We also made this custom chalk board from a Good Will frame and screwed in black hooks so they could hang their keys!
 Before
:
 After! We got these knobs from D.Lawless Hardware
.
They were only $2 each and they look so perfect in their kitchen! {Thanks Emily for the idea to get red glass knobs!} Partners in crime!
 My mom is making Jesi roman shades out of burlap then hanging them from these shelves that she also made. With all the painting and building she only got this one made. The burlap looks awesome with Jesi's country decor!
 Front door before:
 Front door after:
 I found this old school desk on Craigslist for $20!
 A little chalk board paint...
 Ta-Da!
  Oh, the living room.. We worked all day Saturday till 10pm and we were back at it all day Sunday till 8:30pm and we hardly got anything done in here.
Before:
 After:
 We got the 1.5 walls painted, my mom got her shelf made and hung, and as you can see the curtain is not finished yet! :-) It is going to be the same roman shade as she made for the dining room window.
New wall decals on their entry way:
 We were here!
 Welcome home sister!
A few months ago I was google-ing house ideas, as usual, and I found a blog I liked!
Russet Street Reno.  I was browsing the blog and looking at pictures and liked everything!
Then I read Sara's 'About Me' and I became an instant follower. "I am a home owner/renovator..." Check! "trying to cram all kinds of projects into my busy life while holding down a day job..." Check! "planning a wedding..." Check, just did that last summer! "entertaining two cats and a fiance..." 2 cats, Check, husband, Check! "stalking house blogs" CHECK! Yup, we have a few things in common.So a couple weeks ago I was checking my blog updates and saw that Sara had posted something new. I clicked on it and was scrolling though, and there it was, my credenza!!! An inspiration picture for her new dresser she scored off Craigslist. Awww, I'm honored, glad I could be some inspiration! I can't wait to see what she does with it! See her post here.
I recently posted our bedroom on HGTV's Rate my Space. It hasn't gotten very good reviews, currently I am at 2.3 stars out of 5! Booooo! see here: HGTV.
For those of you that did like our room, here is how we made our headboard.First I measured the size I thought would be best for our bed. Then in Illustrator I created a document that size (60" x 36") Then I drew, and re-drew, then re-drew again... until I got a shape I liked. Then I printed my document with page tiling on (32 sheets of paper!) Once it was printed I taped just the sheets that had my headboard outline on them together. Download Headboard PDF here. Then I laid that out on my metal to make sure the grooves lined up just right.
 I then cut out my pattern completely and taped it down. Once that was done I outlined my pattern with a sharpie, then took my pattern off {make sure you have the side you want showing facing down so your sharpie marks are hidden on the wall in case they happen to not get cut off}
 Then it was time to cut, 1 sheet at a time. We first tried using snips. That was way to hard so then we went at it with a jig saw. I held down the sheet and Adam sawed, it was the noisiest thing ever! Wear goggles and earplugs!
  YEAH!
YEAH! Then it was puting it up. What we did was screw two boards on the wall first, then we took the middle section and nailed it to the board, making sure it was exactly where we wanted it. We then continued to put up the other 3 sheets. {We bought 2 complete sheets at Home Depot, then cut them in half creating our 4 sections we worked with} The grooves lined up really nice so we only had to use a few nails to hold the sheets together.
 Almost forgot to cut a spot for the outlet!
 Well that's it. Cutting it out was the hardest part, other than that it was pretty simple and pretty cheap! About $23! We love it, and that's all that matters :-)
So, it's been WEEKS since we started our bedroom makeover and I'm sad to say it's still not 100% complete. But, I can't take it anymore! It's so close I figured I'd post it anyway I'm that excited about it! drumb roll please ....................... Ta-Da!
 {My lamp shades still have the plastic on them.. Just in case I find something better!}
 This head board idea came from Kara over at Made2Create. When I saw it I fell in love with the idea! It is corrugated roofing metal that we bought from Home Depot. We bought 2 sheets, total cost: $23! It's the focus of the room and I love it!
 Adam built us a custom platform bed! Total cost for wood: $50!
 This really cool wall art piece was from a yard sale for $1! It used to be gold. See here.
 This perfect circle mirror was also a yard sale find for $2! It too, used to be gold.
 The curtains are from Target, they were on super clearance for who knows why! We got 4 95" panels for $13.98, TOTAL!
 Little tea light holder owl that I bought from Ross for $4.99. Used to be a weird color, see here.
 You might remember these end tables from a post a few weeks back, see here. They were a Craigslist find. I got these 2 and a matching coffee table for $40. I had originally planned to put the coffee table at the end of the bed and use it for a bench, but our room is just not big enough for that. Might have to re-sell the coffee table even though I already painted it yellow.
 What's not finished you ask?
This is what's not finished.. The wall of shame.
Problem: We ordered huge birch tree wall decals for this wall in white. {I think they will look awesome against the gray wall and with the bedding!} Well, they mailed us black birch trees. So we have to wait for them to re-send us the right ones. I also have a few other things to hang on the wall, but want to wait until we put up the tree decals to make sure placement is right.  You might remember from a previous post that I was sooooo excited to get my Amy Butler fabric in the mail that I was going to use in this room. ? Well, that was until we found this coverlet at Target. It was perfect and that also meant I didn't have to sew. So there in the laundry basket in the corner sits my 5 different patterns of Amy Butler fabric.. sad. I'll have to find somewhere else for her.
I'll post process pictures soon, there is a lot!
I think I've found some treasures lately. This past weekend it wasn't raining so Adam and I ventured out to some sales. I found these fabulous metal patio chairs, only $5 each {wait till you see them made-over, coming soon!} This cute little dresser for only $7 {again, make-over coming soon!} These cute white vases, only $0.25 each! Last, but not least, this super fun metal tray that the vases are sitting on for only $1! I am most excited about my new patio chairs though. I have been admiring these, and even found some similar that were at a boutique in downtown Bend last summer. They were awesome, but over $100, each! I can't wait to share how fabulous they are looking now!

 1 more find to share: My new, old, kitchen scale! I've been wanting to get a kitchen scale, but wanted an antique/vintage scale that was cute enough to leave out. Of course I wanted a pink one, but my only luck of finding a vintage pink scale was a baby one. I had been searching eBay for one and found this one. Perfect! Except I didn't order this from eBay, I found it at a local antique store for only $15! {The cheapest on eBay was about $18 + $13 shipping} Deal for me!


 Travis, Jesi, & Maylon
 After:
 These curtains are actually dish towels that we hung by curtain clips. My mom built this functioning shelf that the curtain rod is hung from.
 If we had more time I would have LOVED to paint her cabinets!
 Before:
 After:
 Before:
 After:
 We also made this custom chalk board from a Good Will frame and screwed in black hooks so they could hang their keys!
 Before:
 After! We got these knobs from D.Lawless Hardware. They were only $2 each and they look so perfect in their kitchen! {Thanks Emily for the idea to get red glass knobs!}
 Partners in crime!
 My mom is making Jesi roman shades out of burlap then hanging them from these shelves that she also made. With all the painting and building she only got this one made. The burlap looks awesome with Jesi's country decor!
 Front door after:
 I found this old school desk on Craigslist for $20!
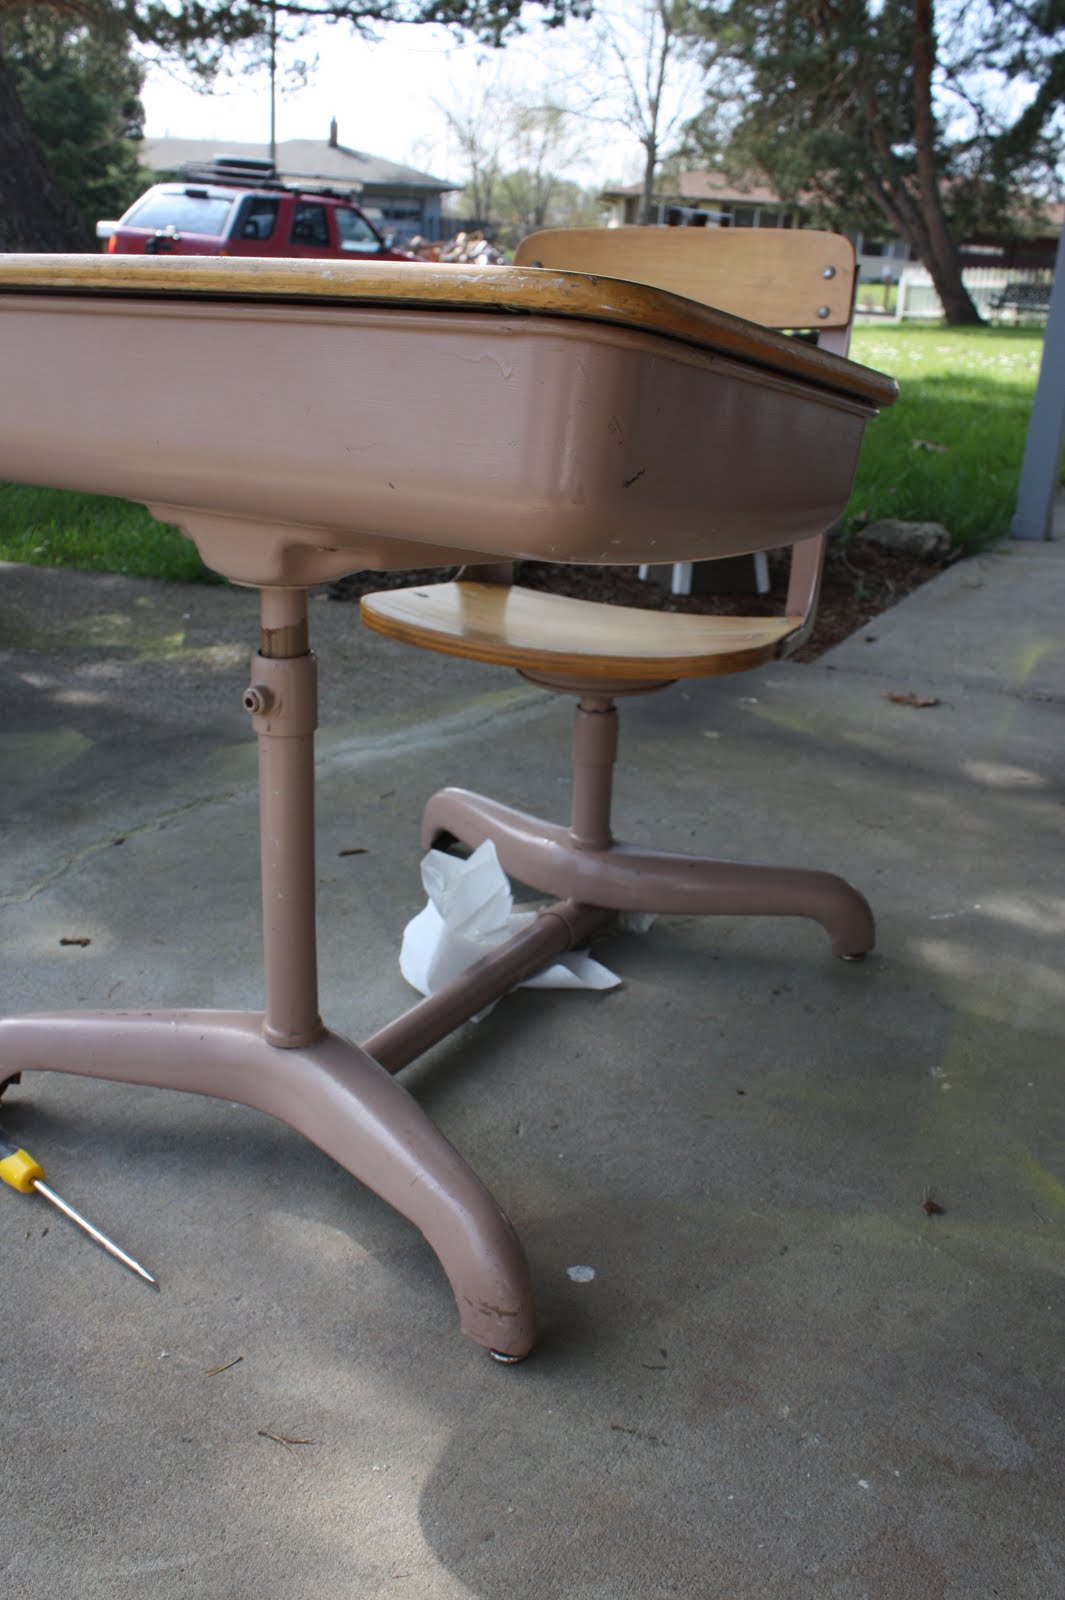 A little chalk board paint...
 Ta-Da!
  Oh, the living room.. We worked all day Saturday till 10pm and we were back at it all day Sunday till 8:30pm and we hardly got anything done in here.
 After:
 We got the 1.5 walls painted, my mom got her shelf made and hung, and as you can see the curtain is not finished yet! :-) It is going to be the same roman shade as she made for the dining room window.
 Welcome home sister!